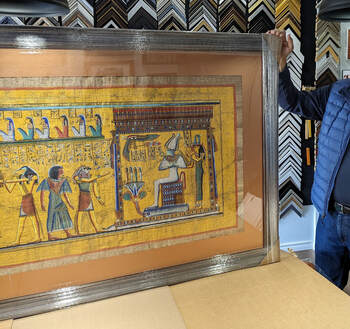
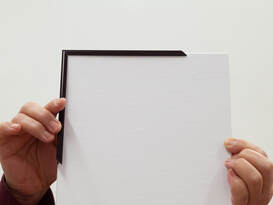
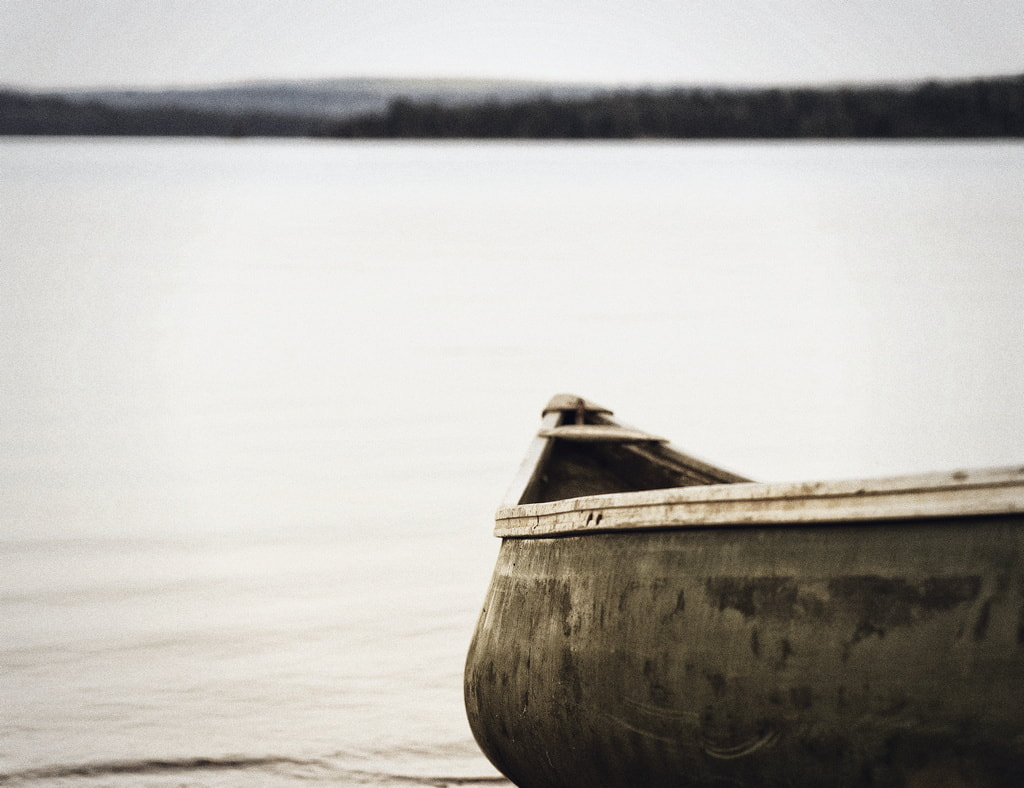
 A large Egyptian papyrus. Matted with a copper - coloured mat. With acrylic lite and a batten backing so the papyrus can be flattened as much as possible. This was wider than 60", so the matboard had to be in two sections. Although still noticeable if you really look for it, the seam is very discreet. This is only because our computerized mat cutter is so precise.
Large pieces always present new challenges that only come to the surface as we're doing the actual framing. In this case, the challenge was keeping the papyrus as flat as possible.
0 Comments
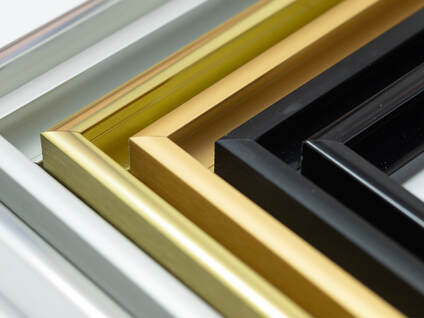
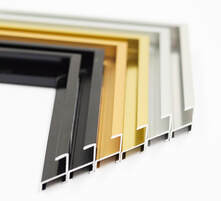
We now offer aluminum frames. They come in black, gold, and silver. Each one has a shiny or matte surface. Aluminum frames are great when you want the frames to be as thin as possible in order not to obstruct the viewing of the art.
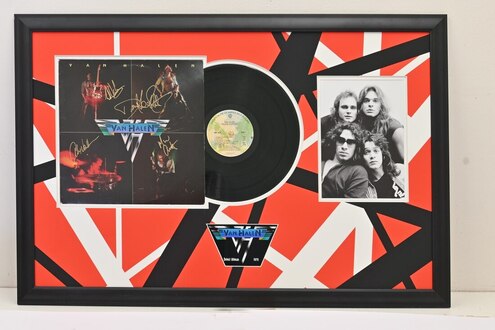 An original vinyl LP signed by the band. We printed Eddy Van Halen's guitar graphics onto the front board. Cut an opening for the album and cover. A couple of other openings for the band picture and logo. With non-reflective Art70glass.
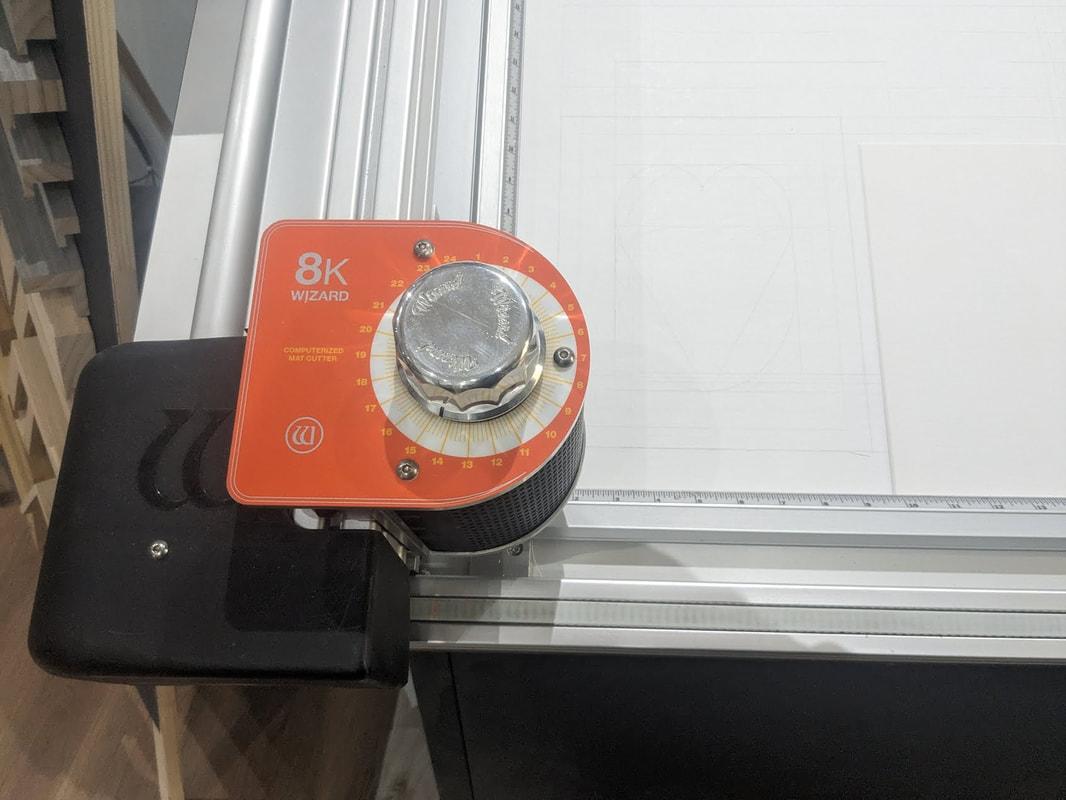
All done in-house. We have a computerized mat cutter that will cut any shape. We have 44" printers to take care of any printing jobs. We make the frames on-site also.
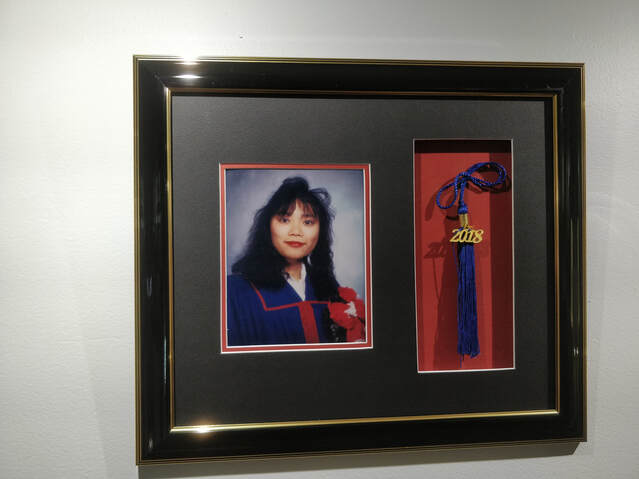 Graduation Frame
You worked hard for it! In the sample, we framed the graduation portrait and tassel with a wooden diploma frame, acid-free mats to preserve the photo and museum glass for UV protection and anti-reflection.  This is a large, 30" X 36" frame for a retirement gift. It's a thick, outer black frame, with an inner gold-coloured frame. The pictures and items are inset by about three inches. All topped with the incredible ART70 non-reflective glass. This glass always amazes. It literally seems like it's not there at all. The design was done by the customer, and I thinks it works beautifully. It is not overly complex, but has all the detail and information needed to make this a beautiful present.
Yes, it's always hard to add new posts to a blog. Always more pressing things to do. But in these pandemic days I'll try to do better. Anyways, I wanted to show a stretched canvas that is going to go into a barbershop. This classy image is framed with a liner and then an outside frame. The liner is a traditional way of giving some separation between the image and the frame. Looks great, and this piece, at five feet wide, will look great in the waiting area. 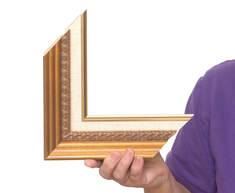 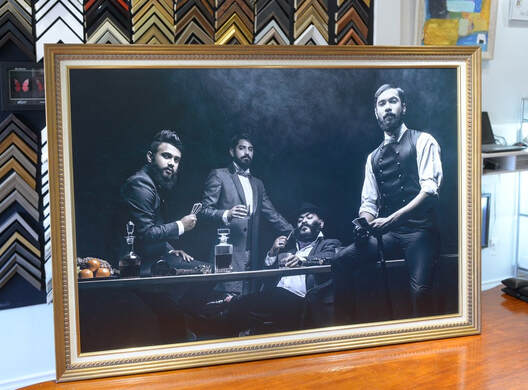
It's the time of year when many of us look to escape the city. We just released two new images that would look great hanging in your cottage, or even your city home, so you can remember fondly your time in cottage country, even when it is the middle of February. Call for details as these are not yet available online.
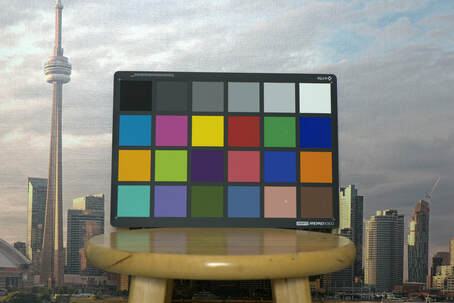 As with most things, copying a piece of art gets very complicated and difficult very quickly. For now, let's just talk about colour. We scan a lot of artist's paintings here, and there is one thing in common: artists care about their colours.
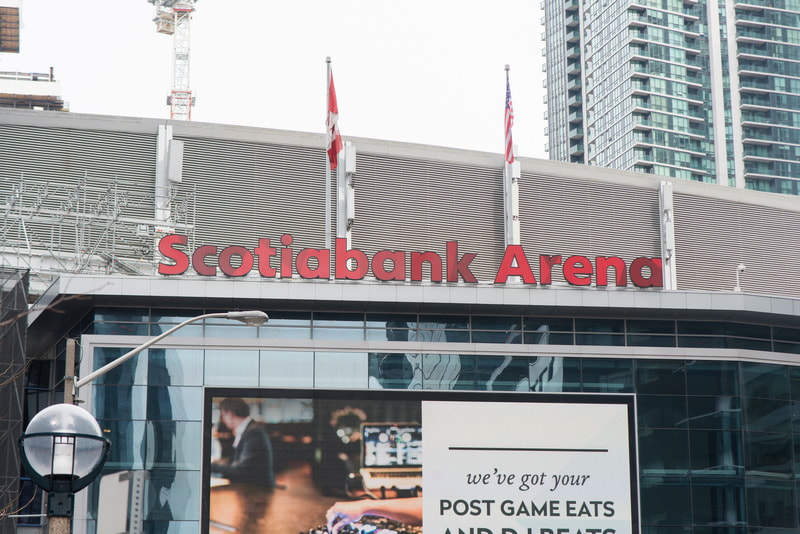
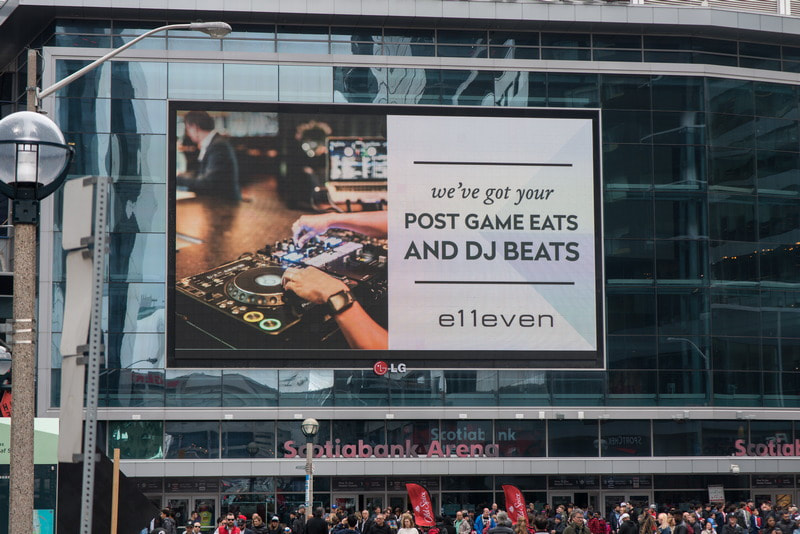
Getting the colours right is probably more important than resolving the most amount of detail. The thing is, however, that duplicating colours perfectly is an impossible task. There are too many variables, but we can do a very good approximation. The first thing is to calibrate the colours as they come out of the camera. The colour patch you see above is over $100, and well worth it. Colours can change based on the light hitting the subject, the camera we are using, and how we are processing the image through software. So, we calibrate the image using the colour patch. Then, the monitor needs to be calibrated, and lastly, if we're making prints, the printer has to be profiled. Having done all these, we should be able to get pretty close to the original. All objects reflect light differently, and react differently to various light sources, but modern technology allows us to make a very close duplicate. We'll talk about geometry on an upcoming post. So the Raptors are hot right now, and I felt it's time to do something that acknowledges that fact, plus also take an image of our newly-named Scotiabank Arena. The above four images are a selection of about twenty exposures that were taken. The final image is a conglomeration of all twenty images. Tough one, not a pretty building. But the excitement of the crowds may make for an interesting, detail-packed image. Below is the finished product. 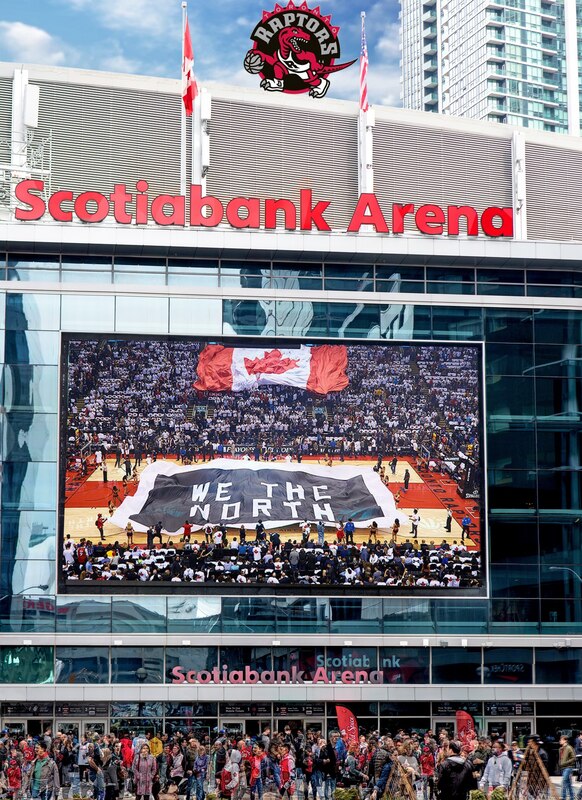 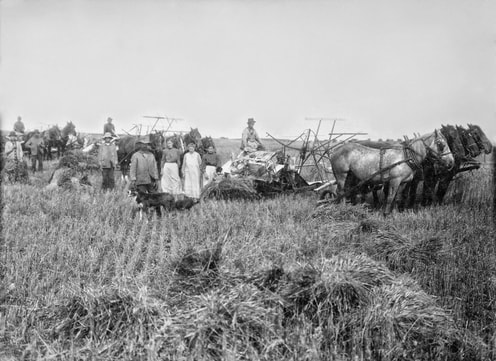 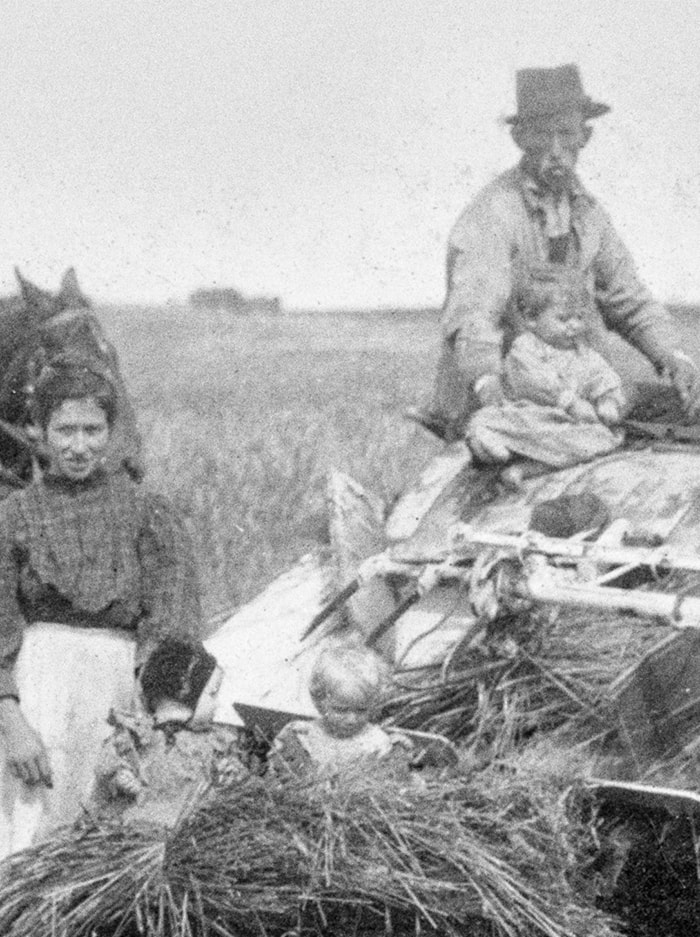 The point of this post is to show the incredible amount of detail that can be found in old photographs. A photo's level of detail is always dependent on the printing process that was used to create it. With modern inkjet printers, the most amount of detail that can be printed is about 300 pixels per inch. More than enough to view the photo at arm's length. However, photos printed using traditional silver halide processes (and negatives/slides/film also, of course) can have much more detail in the image. When restoring an old photo, it is very often the case that you should not be afraid to enlarge is, so that the details are brought out.
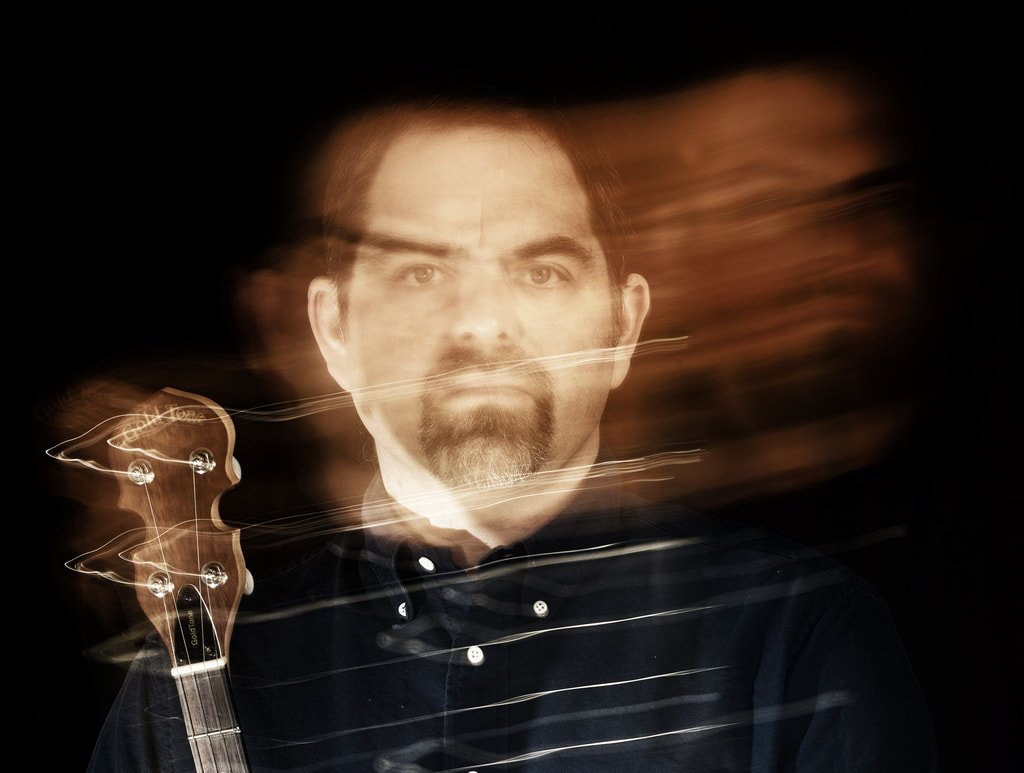
Oh, and also: Get those kids out of the path of that thresher! I'm afraid they're going to be swallowed up any second now. 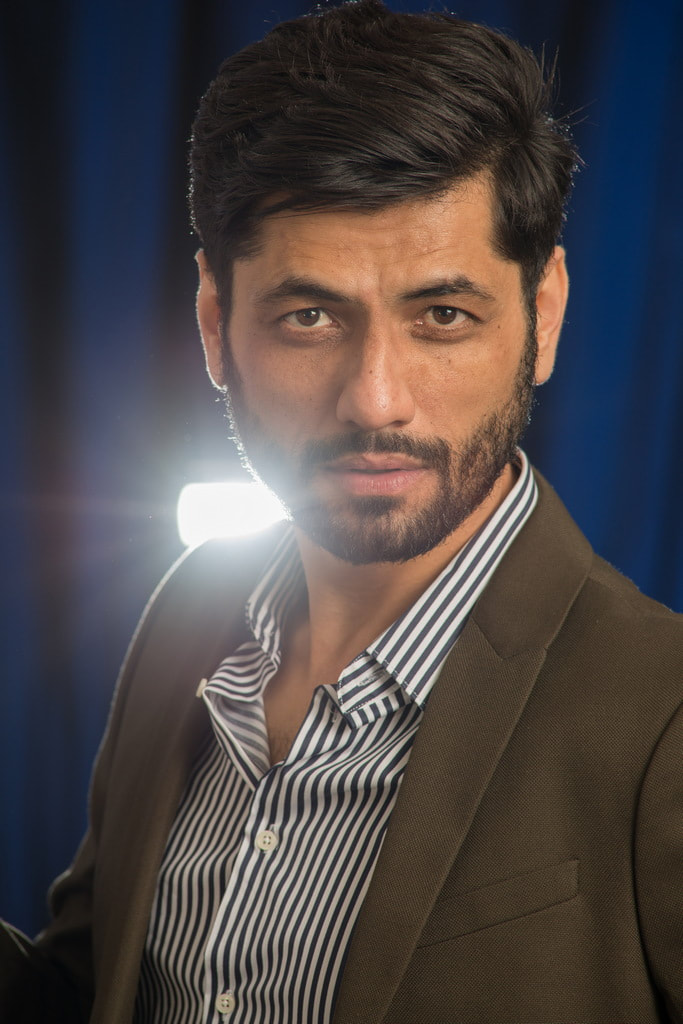  You never know who's going to show up at the studio. This is Sadriddin, one of the best-known Farsi-speaking singers. Check out some of his music here. It was a pleasure doing a photoshoot with him, and the bit that he sung for us was very impressive.
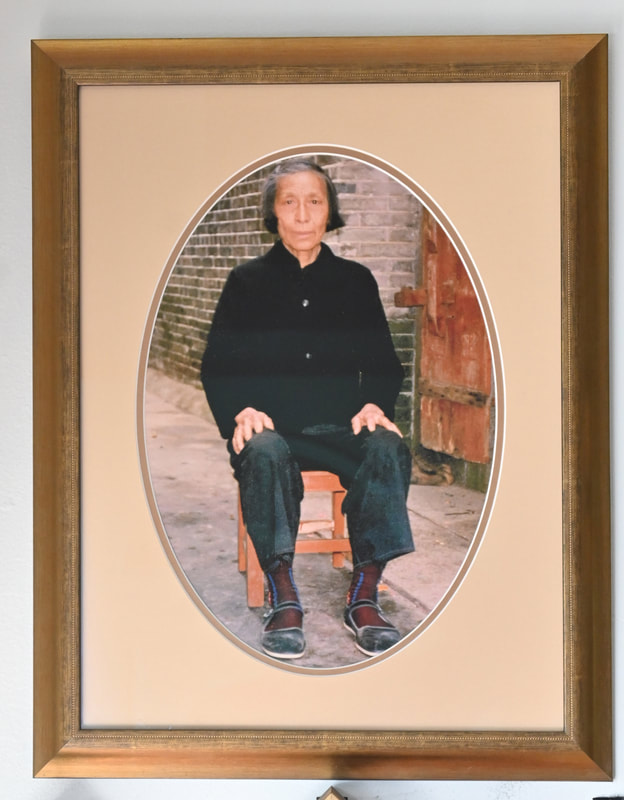
Restoring old photographs always present different challenges. In this case, the colours were restored using three different techniques. The 40-year old image was faded. Like most colour photographs, the differnt colours do not fade at a similar rate.
1. The background was actually re-colourized. There is not much software available to do this. It is not simply a matter of changing the colour to the desired hue. Subtle variations in toning, and luminance need to be taken into account. I use a software called Codijy (link here). It does a great job but is very CPU-intensive, and it took nearly 10 minutes of processing just to colorize the wall. 2. The clothing just needed some simple adjustments in photoshop (levels, brightness, contrast, and hue) This was the easiest part of the restoration 3. The skin tone was more difficult. As there was really no magenta/red toning left in the image, the skin had become too yellow. Changing the hue/color just for the skin, and adjusting for contrast, etc. I was able to get a good approximation of the actual skin colour. Next time I'll give some examples of B&W restoration.  I know: it doesn't look like much. But here's the point: This painting is about 32' wide, and about 42" tall.
The frame is a very simple, straight profile with a white satin lacquer. So what's so special about that? Well, the moulding is 3 1/2" wide. Those mitered corners have to be exactly at 45 degrees, else you're going to have gaps showing. That's not something you can do with a $100 saw from Home Depot. Our double-mitering saw is almost 40 years old, but it does a beautiful job. And what a beautiful painting, done almost fifty years ago as a self-portrait.  I don't do much photography for real estate listings (though I used to). It's certainly a good source of income for many photographers. It's not an artistic endeavor, rather a technical one. I'm going to give you a quick lesson in this type of photography, so you can do it well.
Equipment required: Two lenses. An ultra-wide angle with a field of view of at least 90 degrees, the other a lens that covers about 60degrees. That would be a 35mm lens if you have a full-frame camera. Camera Tripod - A heavy one would be preferable So... Setup your camera at one corner of the room. About waist-height. Make SURE the camera is not tilted up or down. Take five exposures one stop apart, so you get detail in the brightest part of the image as well as deep in the shadows. Make sure you do not shake or move the camera between exposures. (See how the window at the far right of the above image is not blown out?) Combine all five images using software such as Photomatix, Enfuse, Hugin, etc. The software creates one file that will have detail both in the shadows as well as the highlights, but keeps the image looking natural. Total time required on location is usually about 45 minutes, and another 45 minutes of post-processing the images. Crop/resize for your client's requirements. Want to learn more? Call and I can give one-on-one photo lessons on this or any other subject. The ceramics teacher announced on opening day that he was dividing the class into two groups. All those on the left side of the studio, he said, would be graded solely on the quantity of work they produced, all those on the right solely on its quality. His procedure was simple: on the final day of class he would bring in his bathroom scales and weigh the work of the "quantity" group: fifty pound of pots rated an "A," forty pounds a "B," and so on. Those being graded on "quality," however, needed to produce only one pot—albeit a perfect one—to get an "A."
Well, came grading time and a curious fact emerged: the works of highest quality were all produced by the group being graded for quantity. It seems that while the "quantity" group was busily churning out piles of work—and learning from their mistakes—the "quality" group had sat theorizing about perfection, and in the end had little more to show for their efforts than grandiose theories and a pile of dead clay. From: Art & Fear: Observations on the Perils (and Rewards) of Artmaking by David Bayles 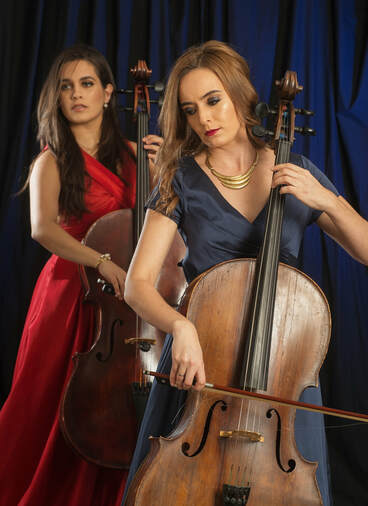 Amber and Darya are a professional duo playing Cellos. They came in for a photoshoot for their marketing materials and their website. That was so much fun! You can read more about them here
 The first time I saw one of Andre's originals, I thought he was a photographer. He draws portraits in a photographic style that is very subtle. There's depth-of-field, motion blur, specular highlights, and other things happening on these drawings that really warrant them a second look. Don't know how he does it, but I enjoy them to no end.
We do quite a bit of art duplication and scanning. Artists like Andre Walker can then sell their work more affordably than just selling the originals. We are proud to host on this website Andre's amazing drawings. Available in prints, framed prints, and stretched canvases. Take a look here 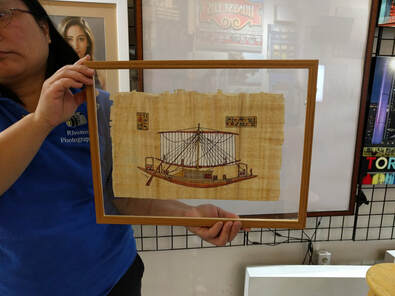 Here's an interesting framing job. A piece of papyrus is sandwiched between two panes of acrylic. Since light now reaches the back of the papyrus, it becomes translucent, and you can see all the details inherent in the material.
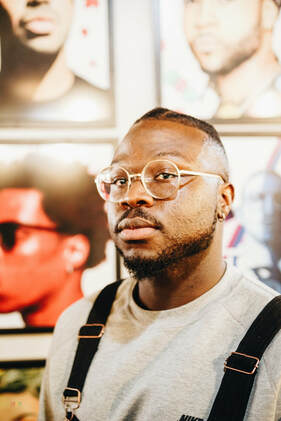
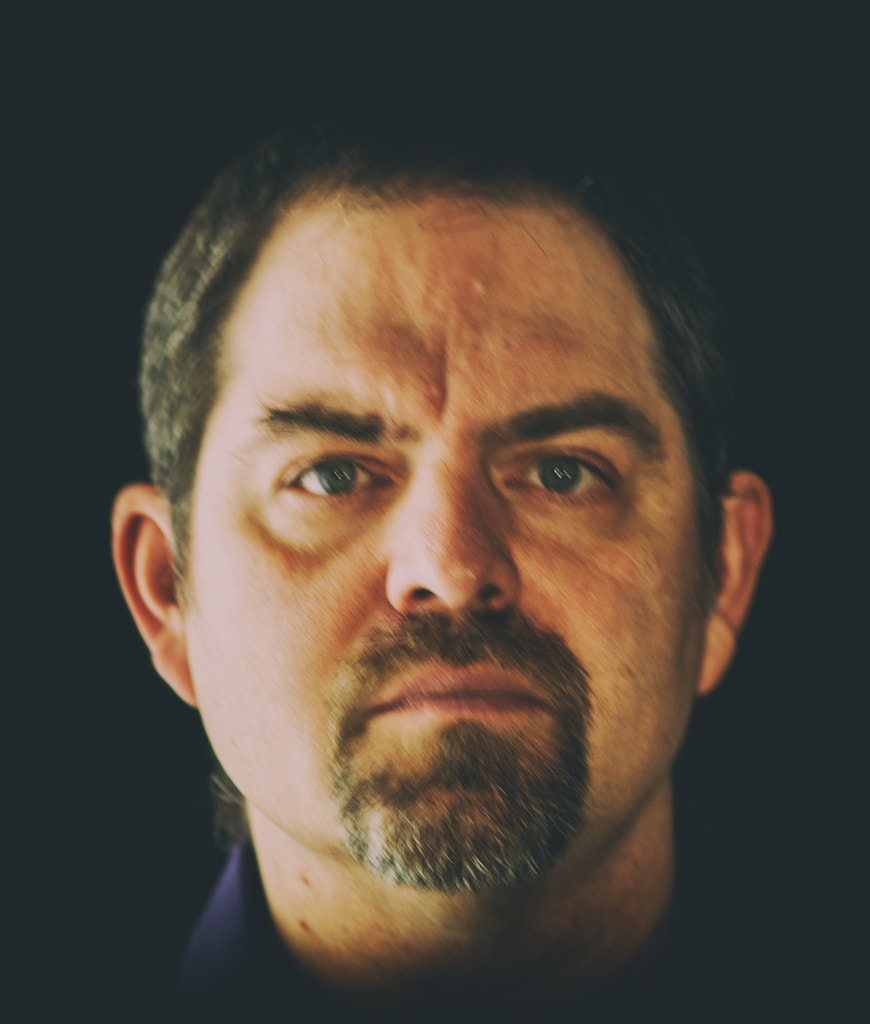
Thank you so much Mark for allowing me to take his portrait. It is so refreshing when the client is looking for one or two images, as opposed to: "how many pictures will I get?" Technical: This was taken without flash, only with available light. A cellphone's torch on the book is lighting the beard (yes, that is Mark's real beard). Camera on a tripod, with remote shutter. About 1/2 second exposure at f8, and ISO 100. About thirty minutes to set the scene, adjust the props and compose. Then setup the camera, and take two or three images, just to be safe. That leaves about fifteen minutes for a coffee, and some great conversation with Mark. 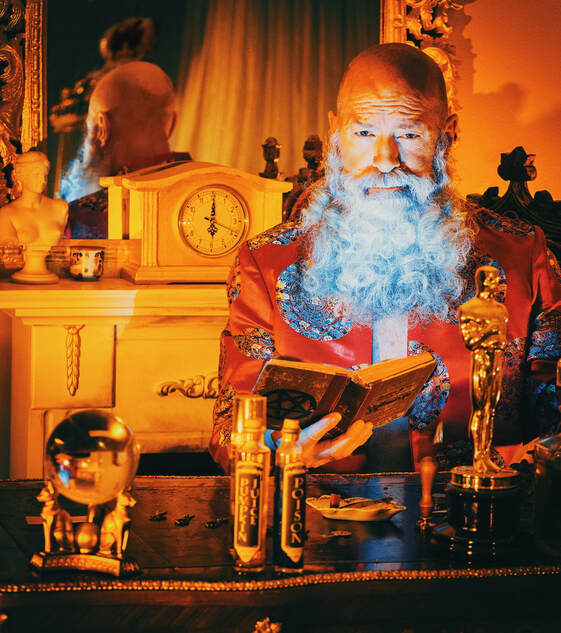 |


Riveros Photography
167 Gary Drive Toronto, ON M9N 2M2
Sales@RiverosPhotography.com
PH. 647 648 1161
Contact Us
Give us a Review!
©2024
©2024